Rocketadmin hosted PostgreSQL databases
Rocketadmin offers the ability to create connections to PostgreSQL databases hosted by us.
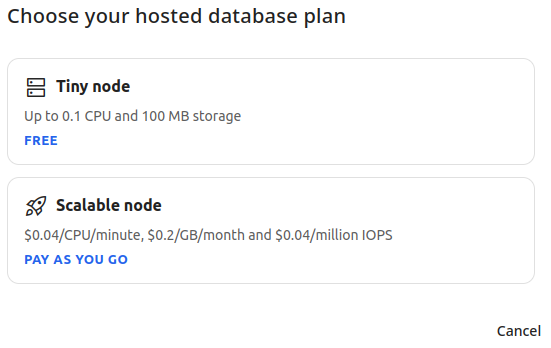
We provide two options to suit different budgets:
-
Tiny node (Free) - Up to 0.1 CPU and 100 MB storage
-
Scalable node (Pay as you go) - $0.04/CPU/minute, $0.2/GB/month and $0.04/million IOPS
Creating a hosted database connection
-
From the Rocketadmin connections screen:
-
if you have at least one connection, click Create hosted PostgreSQL
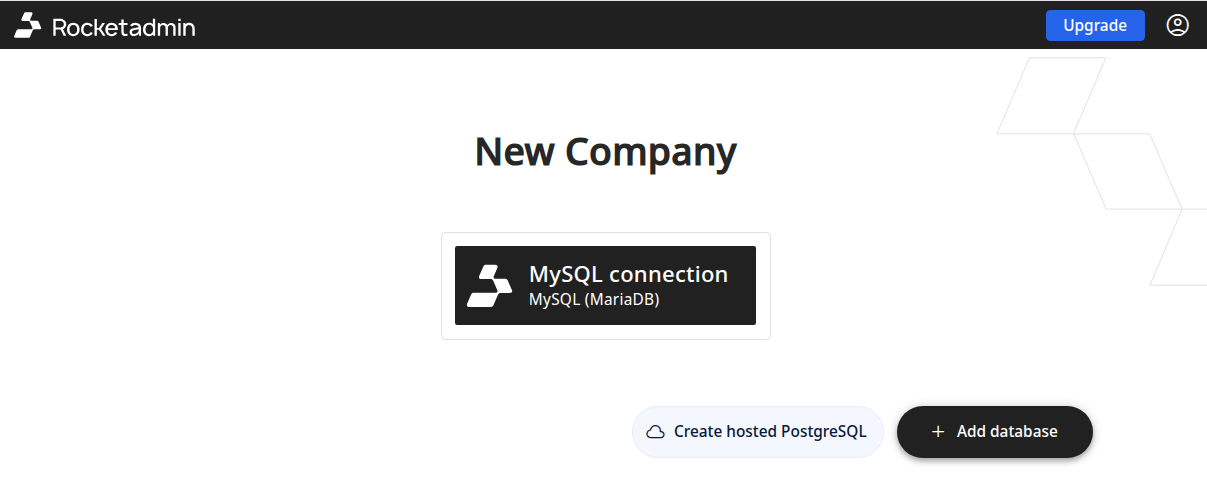
-
or
-
in case this will be your first connection, click Hosted PostgreSQL - Quickstart
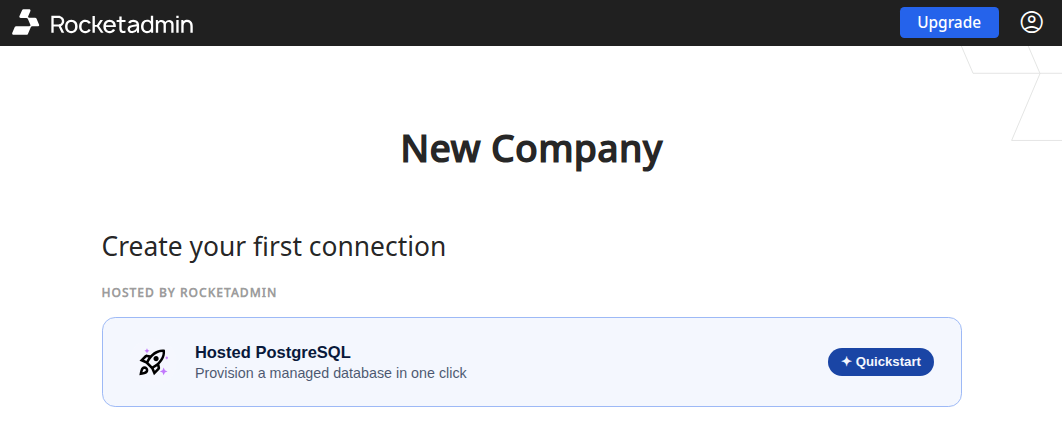
-
Select the option that meets your requirements - Free or Pay as you go:
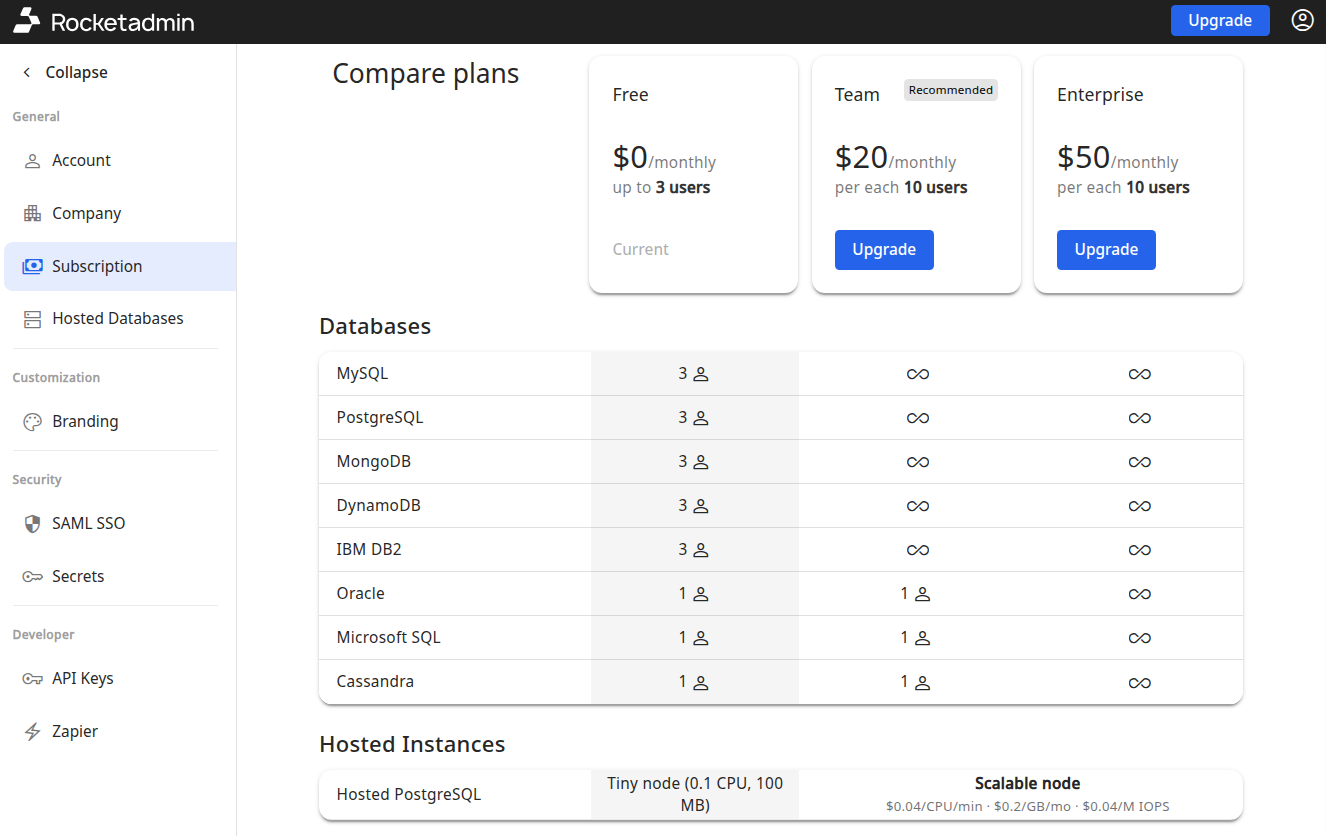
If you selected Scalable mode, you will be redirected to the Subscription section to compare and choose from the available pricing plans:
-
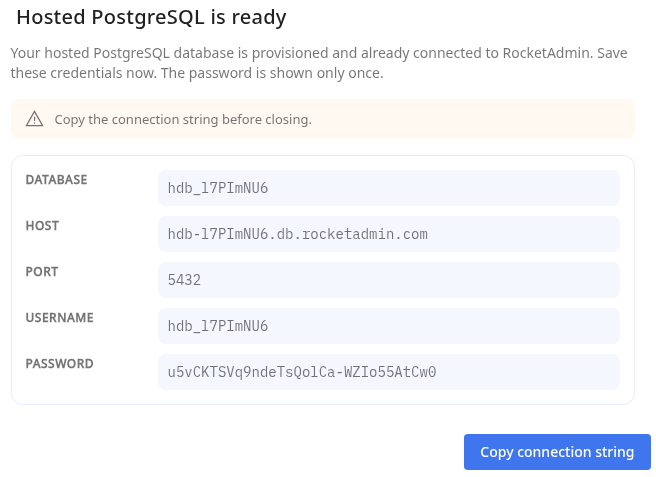
In case of Tiny node, the following dialog appears informing you that the hosted PostgreSQL database is provisioned and connected to Rocketadmin:
-
You can review and copy the connection details before closing.
Important noteAs the password will only be displayed once, please save the generated credentials.
-
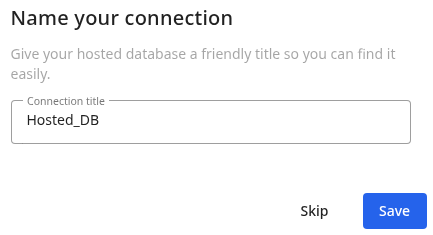
You are prompted to enter a new connection name:
-
Save.
The new connection appears in your connections list:
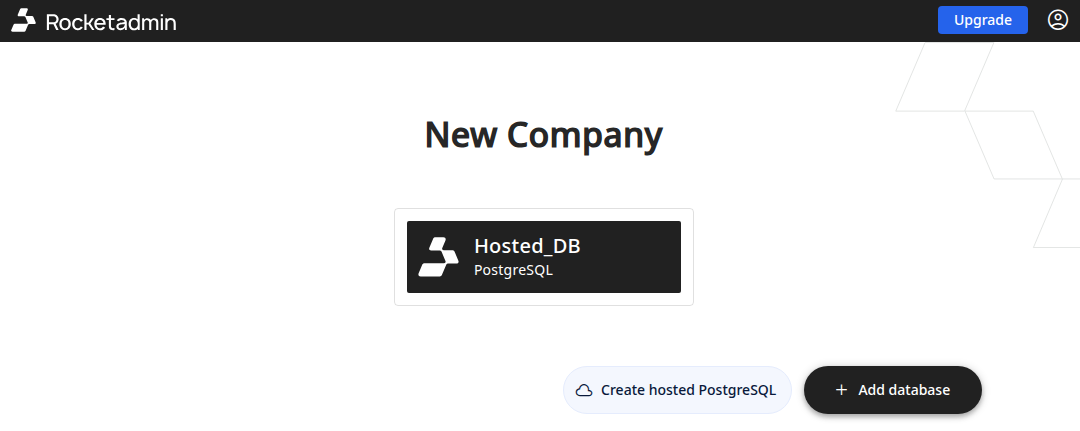
The hosted database does not contain any tables, so you will need to set them up yourself.
Managing the hosted connection
Creating tables
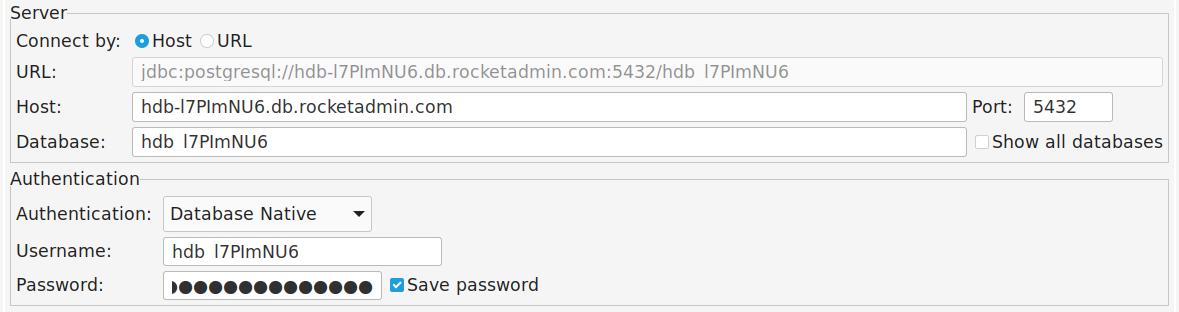
With the help of a PostgreSQL database tool of your choice and the credentials you have saved, connect to the hosted database to create tables.
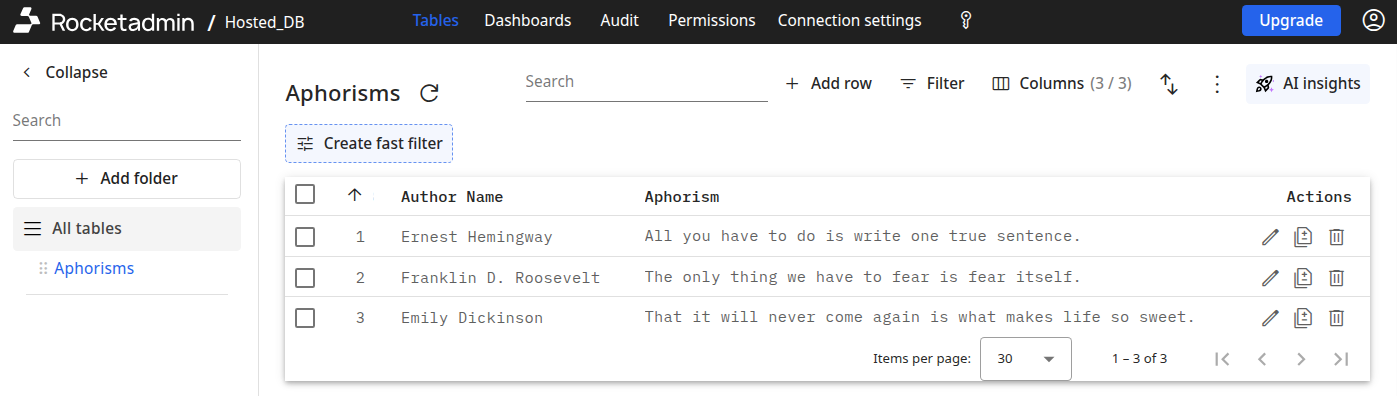
Using the example above, after a successful connection
your configurations can be reviewed (similar to any other type of connection) from the Tables menu:
Hosted connection details
From the Dashboard->Tables menu click the icon (Database credentials):

You will be redirected to the Hosted Databases options:
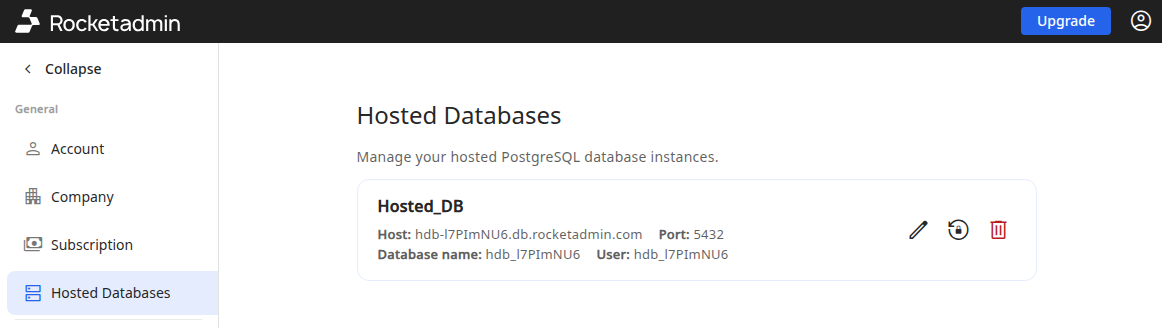
where you can rename your hosted connections, reset their passwords, or delete them.
Renaming a hosted connection
-
From the Hosted Databases section, click the icon next to the name of the connection you want to edit:

-
In the next dialog provide a new name and Save:

Your settings are applied.
Resetting connection password
-
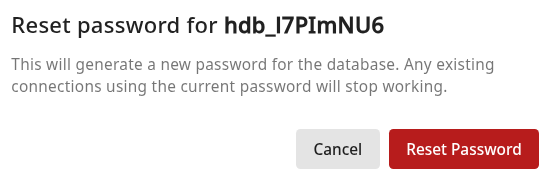
From the Hosted Databases section, click the icon next to the name of the connection you want to reset the password for:
A dialog appears informing you that "This will generate a new password for the database. Any existing connections using the current password will stop working."
-
Click Reset Password.
-
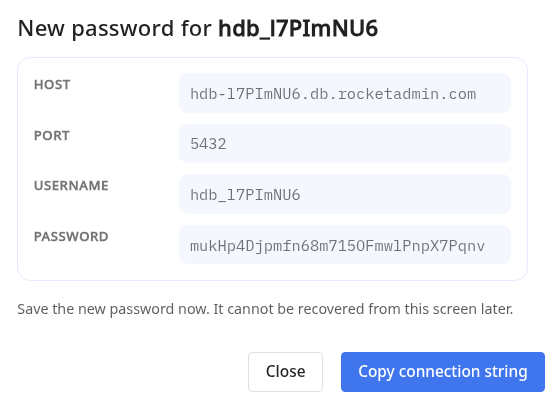
In the next dialog, review and copy the new authentication data:
 Important note
Please save the credentials as the password will only be displayed once and cannot be recovered.
Use the new password to connect to your hosted database.
Deleting a hosted database
-
From the Hosted Databases section, click the icon next to the name of the connection you want to remove:
A dialog appears informing you that "This will permanently delete the hosted database and all its data. This action cannot be undone."
-
Click Delete.
The hosted connection will be permanently removed.